

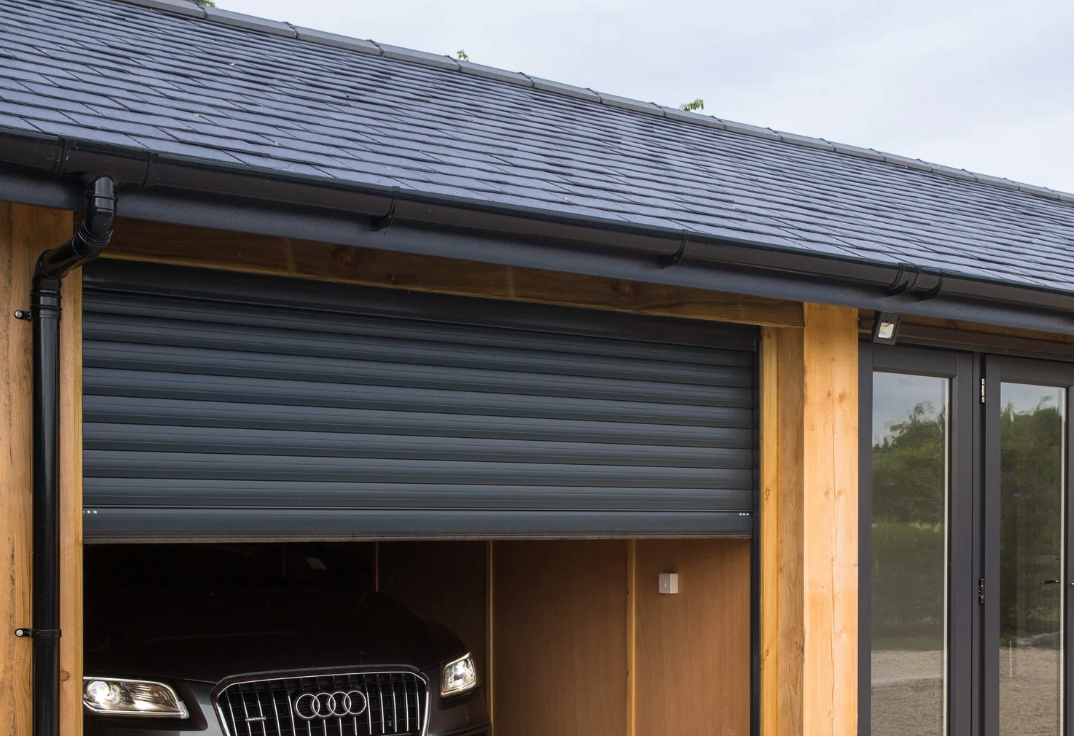
Installing a DIY roller garage door yourself is not only cost-effective, it’s achievable in an afternoon with the right preparation. Based on our SeceuroGlide Original and SeceuroGlide Excel models, this time-efficient guide will walk you through surveying, tools, setup, curtain fitting, and commissioning in under 4 hours for experienced DIYers.
DIY Roller Garage Door Installation Guide (With Timings)
Estimated Total Time: 3–4 Hours
Skill level: Intermediate DIY
Tools needed: Drill, screwdrivers, rivet gun, spanners, level, tape measure, safety PPE
1. Survey & Pre-Installation Checks – 20 minutes
Before you start the build, check:
- Wall structure is solid and flat
- No pipes, cables, or obstructions
- Floor is level
- Door and opening dimensions match the order
- All components are present and undamaged
Tip: Use a laser level or long spirit level to check plumb lines and flatness.
2. Gather Tools and Lay Out Parts – 15 minutes
Lay everything out on a protected surface (cardboard or bubble wrap). Cross-reference components with the manual checklist. Prepare tools including:
- Drill with 7mm and 13mm bits
- Screwdrivers
- Pop rivet gun
- No.12 screws and plugs
- Crank handle
- Spirit level
3. Prepare Opening and Guides – 30 minutes
- Mark out and drill fixing holes in the guide rails (min. 4 per side)
- Mount the guide rails, ensuring they’re vertical and at the correct height
- Fix any floor anchors (if supplied for security)
Use 90mm guides for LPS1175-compliant installs and drive-through width optimisation.
4. Fit End Plates, Axle & Fascia – 30–40 minutes
- Assemble and fix end plates into the guides
- Insert the axle, ensuring it's level
- Fix the motor and dummy end correctly
- Secure with pan head screws and cable ties (drip loop included)
- Optional fascia: fix using rivets and penny washers
Check axle rotation direction and tension the anti-fall spring if supplied.
5. Emergency Override Setup – 10 minutes
Install the manual override as a backup:
- Insert the override eye into the motor housing
- Secure with the holding screw
- Clip the crank handle nearby
External override option takes longer and isn’t LPS1175 compliant.
6. Fit Curtain, Locking Arms & Stops – 30 minutes
- Carefully lift the coiled curtain into the guides
- Attach locking arms to the top slat
- Align collars and secure with rivets
- Raise door slightly and attach the bottom stops
Do not let the curtain drop, support it during install to prevent damage.
7. Set Motor Limits – 25–30 minutes
- Use test lead or control unit to drive motor
- Set closed position first
- Then set open position with approx. 50mm of curtain still inside the guides
- Secure limit switches
Refer to your specific motor (Somfy or SeceuroDrive) for exact procedures.
8. Adjust Curtain Height (If Needed) – 20 minutes
If the curtain is too tall or needs repair:
- Lay flat on bubble wrap
- Remove slats by unscrewing the webbing
- Cut webbing and melt ends to prevent fraying
- Reinstall and test curtain fit
Correct height ensures proper locking function.
9. Optional Box Support Installation – 15 minutes
If using a half- or full-box fascia:
- Rivet the supports evenly inside the fascia
- Drill through fascia using 4.2mm bit and secure with 4x8 rivets
10. Final Commissioning & Cleanup – 20–30 minutes
- Remove protective wrap and wipe down components
- Touch up scratches
- Test electricals and safety edge
- Label crank direction and test manual override
- Apply silicone if externally mounted
- Don’t forget to complete the CE marking and hand over the user manual.
Watch the Installation Video
Need a visual walkthrough? Watch our official installation video on our Security Direct You Tube Channel for step-by-step guidance.
Support When You Need It
While DIY installation is rewarding, we’re always here to help. Contact our support team if you have questions, or let us recommend a professional installer if you prefer.
Order your roller garage door today from Security Direct and enjoy the flexibility of DIY installation backed by professional-grade support and products.


