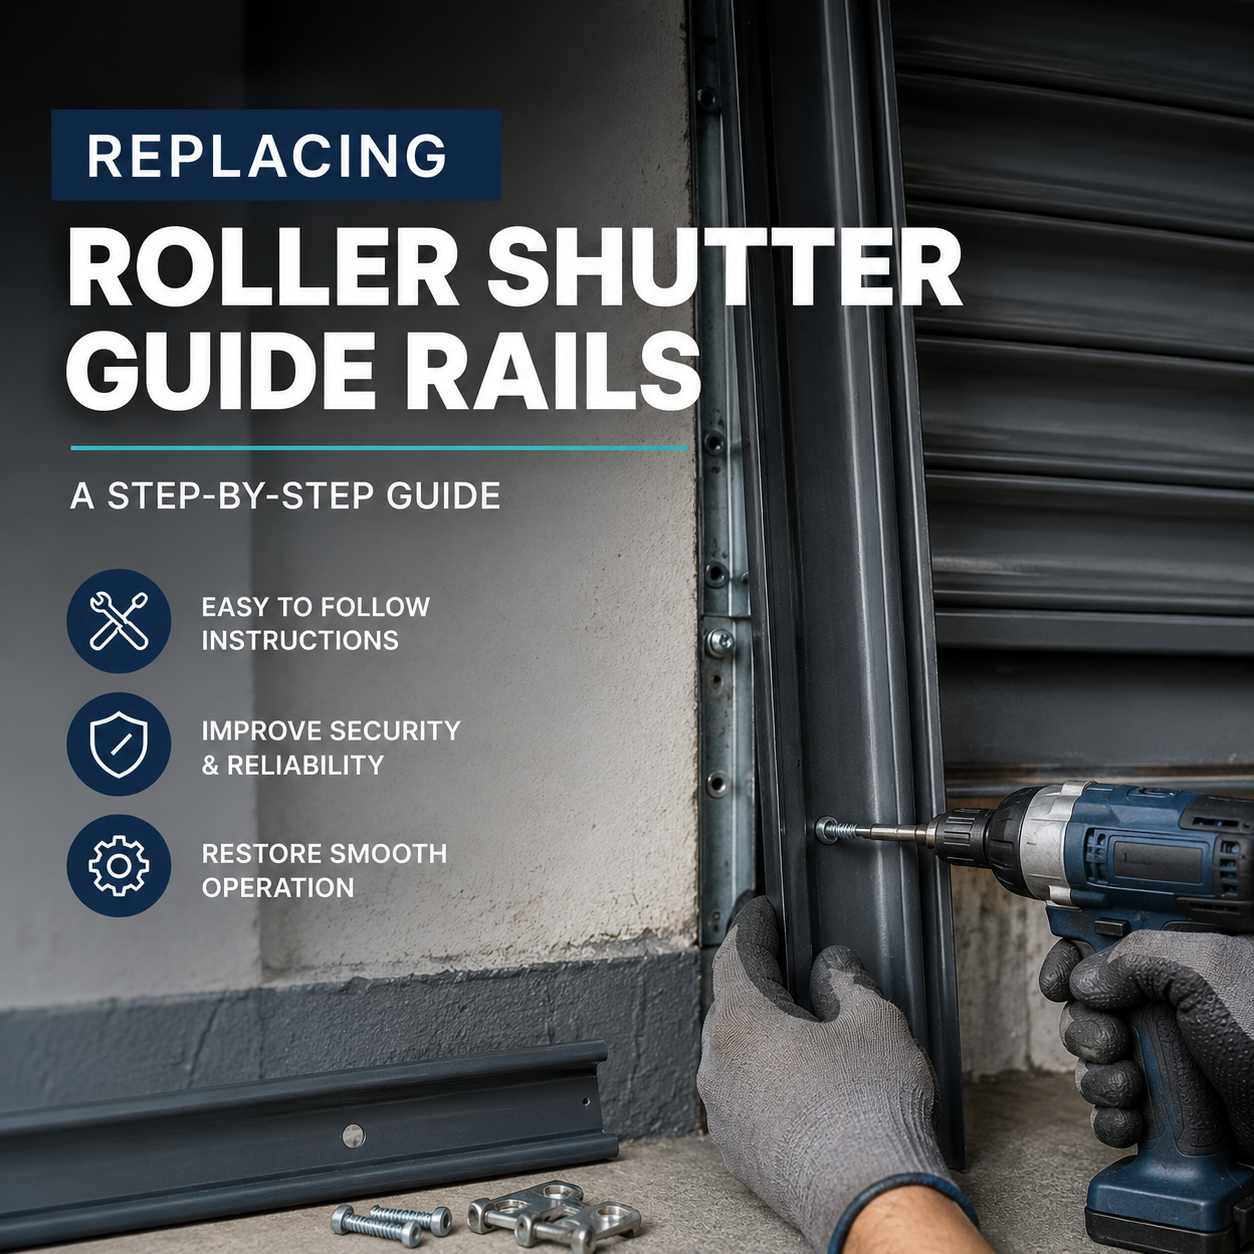
Replacing Guide Rails
Guide rails play a critical role in how your roller shutter operates. They keep the curtain aligned, support the weight of the shutter, and ensure smooth opening and closing.
Over time, guide rails can become:
- Damaged or bent due to impact
- Worn from regular use
- Corroded in external environments
- Loose or misaligned
Replacing guide rails can restore smooth operation and improve both performance and security, but it is important to choose the correct type for your shutter.
Replacing Guide Rails
1. Aluminium vs Steel Guide Rails
1. Aluminium vs Steel Guide Rails
Guide rails differ depending on whether your shutter is aluminium or steel.
Aluminium Shutter Guide Rails
Aluminium shutters use specific extruded guide profiles designed to match the curtain system.
Important:
- The curtain is manufactured to suit the exact guide profile
- You must replace like for like
- Changing the guide profile can affect operation and fit
If the wrong guide is used, it can cause:
- Poor curtain movement
- Increased wear
- Operational issues
Steel Shutter Guide Rails
Steel shutters typically use a standard U-channel guide, which is more flexible when replacing or upgrading.
Common sizes:
- 65mm guide
- 100mm guide
Steel guides are generally easier to replace or upgrade compared to aluminium systems.
2. Matching the Correct Guide (Very Important)
2. Matching the Correct Guide (Very Important)
When replacing guide rails, it is essential to match the correct specification.
For Aluminium shutters:
- Match the exact guide profile
- Match internal width and shape
- Ensure compatibility with the curtain and endlocks
For Steel shutters:
- Confirm the guide size (65mm or 100mm)
- Check compatibility with the curtain thickness and endlocks
Using the wrong guide can lead to:
- Curtain not running correctly
- Increased friction and wear
Potential damage to the shutter system
3. Can You Upgrade Your Guide Rails?
3. Can You Upgrade Your Guide Rails?
Aluminium Shutters
Upgrading is not usually recommended.
- The curtain is cut to suit the original guide
- Changing the guide profile may require a new curtain
Steel Shutters
Upgrading is often possible.
- Moving from a 65mm to a 100mm guide can improve performance
- Deeper guides provide better curtain retention
- Improved resistance to forced entry
The deeper the guide, the more secure and stable the shutter will be.
4. What Are Wind Guides?
4. What Are Wind Guides?
Wind guides (also known as windlock guides) are designed for larger or exposed openings.
They include:
- Deeper guide channels
- Additional profiles to retain the curtain
- Compatibility with windlock endlocks
Benefits of Wind Guides:
- Improved resistance to wind pressure
- Reduced risk of the curtain blowing out of the guides
- Increased overall security
Wind guides are typically used for:
- Large shutters
- External installations
- Areas exposed to high winds
5. How to Measure for Replacement Guide Rails
5. How to Measure for Replacement Guide Rails
Accurate measurements are essential to ensure correct fit and operation.
Key Measurements:
Guide Depth:-
Measure the depth of the existing guide (Smallest section of U Channel)
External Width:-
Measure the outside width of the guide. (Widest section of U Channel)
Overall Guide Length:-
Full height of the existing guide, including any guide inside the shutter box.
Additional Checks:
- Check condition of fixings and substrate
- Ensure guides are straight and not twisted
- Confirm compatibility with existing curtain and endlocks
6. Information We Need to Supply the Correct Guides
6. Information We Need to Supply the Correct Guides
To help us provide the correct replacement guide rails, we will need:
- Photos of the existing guides
- Dimensions (depth, width, and length)
Type of shutter (steel or aluminium) - Details of the curtain and endlocks if known
- Installation location (internal or external)
This allows us to match the correct profile and ensure compatibility.
7. Compatibility and Performance
7. Compatibility and Performance
Guide rails must match the original shutter system to ensure:
- Smooth curtain operationCorrect
- alignment
- Proper load distributionCompatibility with
- endlocks and curtain
Incorrect guides can cause:
- Jamming or uneven movement
- Increased wear on components
- Reduced security
Security Considerations
- Deeper guides improve curtain retention
- Wind guides provide additional resistance to forced entry
- Correct installation is essential for performance
Upgrading guide rails on steel shutters can significantly improve security.
8. Installation Considerations
8. Installation Considerations
- Ensure guides are fixed to a suitable substrate
- Use appropriate fixings for the applicationCheck vertical alignment
- before securing
- Test shutter operation after installation
Incorrect installation can affect both performance and safety.
9. When to Replace Guide Rails
9. When to Replace Guide Rails
Guide rails should be replaced if:
- They are bent or damaged
- The curtain is not running
- smoothlyFixings have failed or become loose
- Corrosion has weakened the structure
Replacing damaged guides can prevent further issues and extend the life of the shutter.
10. How to Replace Guide Rails
10. How to Replace Guide Rails
Step-by-Step Guide to Replacing Roller Shutter Guide Rails
Replacing roller shutter guide rails is usually straightforward if the correct replacement guides have been selected. Before starting, always make sure the new guides match the existing shutter system, especially on aluminium shutters where the curtain is designed to suit a specific guide profile.
Step 1: Make the Area Safe
Before carrying out any work:
- Isolate the power supply if the shutter is electric
- Make sure the shutter cannot be operated during the repair
- Clear the area around the opening
If the shutter is large or heavy, extra care should be taken before removing any supporting parts.
Step 2: Lower the Shutter Fully
Lower the shutter into the closed position before removing the guides.
This helps:
- Support the curtain during the repair
Keep the shutter stable - Reduce movement while the guides are being removed
If the guides are badly damaged and the curtain is jammed, the shutter may need to be supported manually before proceeding.
Step 3: Check How the Curtain is Retained
Before removing the guides, inspect how the curtain sits within them.
Check for:
- Endlocks
- Windlocks
- Brush strips or inserts
- Fixing points
This is important because some curtains will need to be partially released before the guide can be removed.
Step 4: Remove the Existing Guide Rails
Carefully unscrew or unbolt the damaged guides from the wall or structure.
Take care to:
- Support the guide as fixings are removed
- Avoid twisting or forcing the rail
- Keep any fixings if they are being reused
If both guides are being replaced, remove one at a time where possible to help keep the curtain aligned.
Step 5: Inspect the Curtain and Endlocks
Once the guide is removed, inspect the curtain edges and endlocks for wear or damage.
Look for:
- Bent endlocks
- Worn curtain edges
- Damage caused by the old guide
- If damaged parts are not replaced at the same time, the shutter may not run correctly in the new guide.
Step 6: Position the New Guide Rail
Offer the new guide into place and check:
- Height
- Vertical alignment
- Distance from the opening
- Fit around the curtain edge
On aluminium shutters, the guide must match the curtain profile correctly. On steel shutters, confirm the curtain sits properly inside the channel and there is enough clearance for smooth movement.
Step 7: Refit and Secure the Guide
Fix the new guide securely into position using suitable fixings for the substrate.
Make sure:
- The guide is straight and plumb
- Fixings are evenly tightened
- The curtain moves freely within the guide
If replacing both guides, repeat the process on the opposite side and double check alignment across both sides.
Step 8: Check Bottom Clearance and Curtain Travel
Once the guides are fixed, carefully test the shutter movement.
Check:
- The curtain enters the guides correctly
- There is no rubbing or jamming
- The bottom rail closes evenly
- The shutter runs smoothly from top to bottom
If the shutter is electric, reconnect the power only once everything has been secured and checked.
Step 9: Test Operation Fully
Run the shutter through a full open and close cycle.
Look for:
- Smooth operation
- Equal travel on both sides
- No excessive noise
- Correct closing position
If the shutter has windlocks, make sure they engage correctly within the guide system.
Step 10: Final Checks
Once installed, carry out a final inspection.
Confirm:
- All fixings are tight
- Guides are secure
- Curtain is aligned properly
- Safety devices and controls still work correctly
A properly fitted guide rail should improve shutter operation, security, and reliability.
Shop Our Roller Shutter Guide Rails


65mm Galvanised Steel Roller Shutter Guide Rail - Standard
Choose your option


65mm Galvanised Steel Roller Shutter Guide Rail - Wind Guide
Choose your option


100mm Galvanised Steel Roller Shutter Guide Rail - Wind Guide
Choose your option


100mm Galvanised Steel Roller Shutter Guide Rail - Standard
Choose your option

H17 - 45mm Aluminium Guide Rail
Choose your option

H25 - 53mm Aluminium Guide Rail
Choose your option

H30 - 60mm Aluminium Guide Rail
Choose your option

H40S - 70mm Aluminium Guide Rail
Choose your option
Still Need Help? Contact Our Team, Today!
Need Help Identifying the Right Guide Rails?
If you are unsure what you need, our team can help you identify and supply the correct replacement parts.
Speak to Our Team
We can advise on the correct guide type and whether an upgrade is possible.
Send Us Photos or Drawings
Send us images and measurements, and we will match the correct guide profile.
Request a Quote
We can provide a clear, no-obligation quote for replacement guide rails or upgrades.


